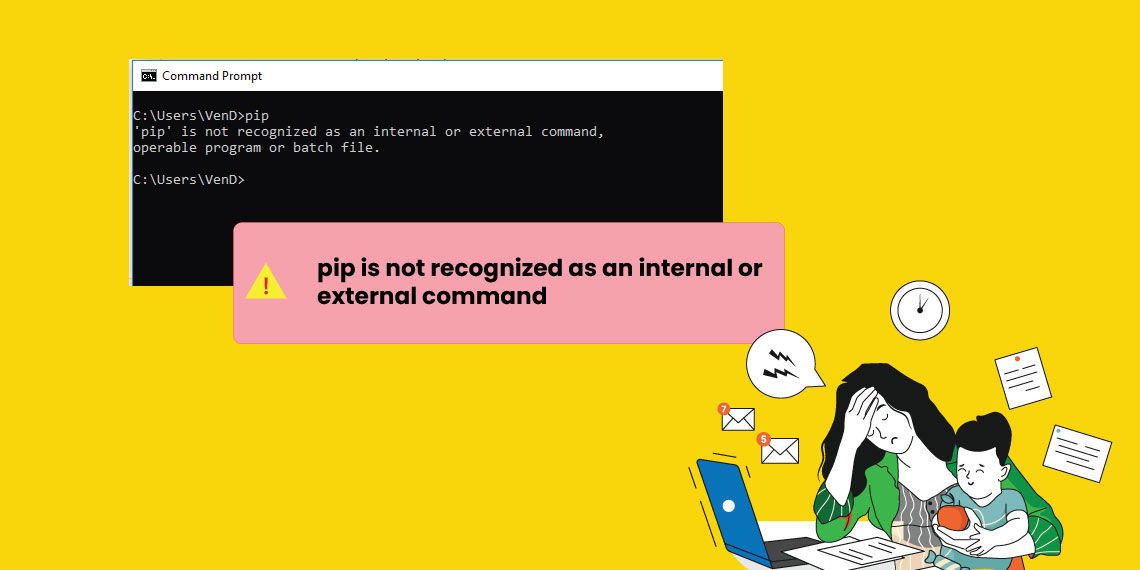
Python is a world-renowned general-purpose high-level computer programming language through which you can build programs to perform a huge variety of functions. You can automate processes, perform ML and AI operations, data analysis, develop software, build efficient websites and do much more. Python provides several packages that are just a collection of multiple modules. The package installer for python is known as pip. It is used to install python software packages. Sometimes, while installing python packages, users can get “pip is not recognized as an internal or external command” error. Let us take a look at some ways to fix the pip not recognized error.

Causes of the Error :
Generally, there can be mainly two causes for this error.
- The system variable does not have the installed pip. For executing python commands in CMD, a pip installation path is needed to be added to the PATH.
- It could be added in an incorrect way in the PATH. A missed semicolon or space character in the PATH can cause an error when manually adding the path.
Fixes
Let us look at some detailed and working solutions if the pip install is not working on your computer system.
Method 1: Verify whether the PATH variable has pip added in it or not
- Press the Windows key + R to open the Run dialog box.
- Type cmd and press the Enter button.
- In the command prompt window, type “echo %PATH%”.
- Press Enter button. This will list all the locations in the PATH variable.
- Depending on the python version you might find something like “C:\Python39\Scripts”. This means the path is added to the PATH variable.
Method 2: How to add pip to PATH environment variable with windows GUI
- Press the Windows key + R to open the Run dialog box.
- Type “sysdm.cpl“ and press the Enter button.
- Click on Advanced tab then go to Environment Variables. You can find these in the System Properties screen.
- Under System Variables, choose the Path and click on Edit.
- The Edit environment variable screen will open. Click on New and enter the installation path for pip.
Method 3: How to add pip to path windows 7 using command prompt.
- Press the Windows key + R to open the Run dialog box.
- Type cmd and press the Enter button.
- Execute the “setx PATH “%PATH%; C:\Python39\Scripts“ command. Enter the python version accordingly.
Method 4: Without the addition of the pip variable, opening the python package if pip command not found in Windows
There can be two ways to perform this. We can achieve this through the use of several cmd commands.
Way 1:
- Press the Windows key + R to open the Run dialog box.
- Type cmd and press the Enter button.
- Type cd C:\python installs in the command prompt. This will take you to the directory with the location of the python .whl file.
- Execute the c:\python39\scripts\pip.exe install [package].whl for installing the python package and fix pip not working issue. Enter the python version according to the installed version.
Way 2:
- Press the Windows key + R to open the Run dialog box.
- Type cmd and press the Enter button.
- Now, execute the “python -m pip installs (package name)“ command.
Method 5: Checking if pip is there in the python installation or not
Sometimes many python language installers will not install pip by default. If python is not recognized in cmd then we can fix it by enabling python pip installation.
- Press the Windows key + R to open the Run dialog box.
- Type “appwiz.cpl” and then press Enter button.
- Under the Programs and Features screen, right-click on Python and then click on Change.
- Click on Modify option.
- Check the pip box in Optional Features and click on Next.
- Click on the Install button. This will apply to your changes.
- After this, you can check if a python package could be installed using the above-mentioned command prompt method.
Method 6: Using the exe installer to reinstall Python on your system
- Press the Windows key + R to open the Run dialog box.
- Type “appwiz.cpl” and then press Enter button.
- Search for Python in the Programs and Features screen and then right-click on it and uninstall it.
- Now, go through the complete uninstalling process.
- Restart the computer system and then download the newest version of the python installer for your operating system.
- Execute the exe installer file and make sure that you check the Add Python 3.x to PATH check box. Here, x is the python version that you are installing.
- Click on Customize Installation option. Also, ensure that the pip check box is checked in the Option Features. Click on the Next button.
- You can edit the installation location or leave it as it is.
- Click on the Install button. After completing the installation, you would be asked to reboot the computer system again.
- When your computer system has restarted, you can install a pip python package using the command prompt.
- Type the python -m ensurepip –default-pip command in cmd if you are still experiencing the same error.
Conclusion
We went through several ways to fix the “pip is not recognized as an internal or external command” error. Each of these methods covers everything from verifying if the error exists to complete fixing it for good. Carefully following these steps can fix the pip not working issue in your computer system. You can try fixing this error either with the Windows graphical user interface or the command prompt. Both ways will provide the same result. Uninstalling and then reinstalling Python is also a simple fix for this error. Just make sure that you check the pip check box during installation.
